
ChatGPT Image Jun 14 2025 01 16 34 AM
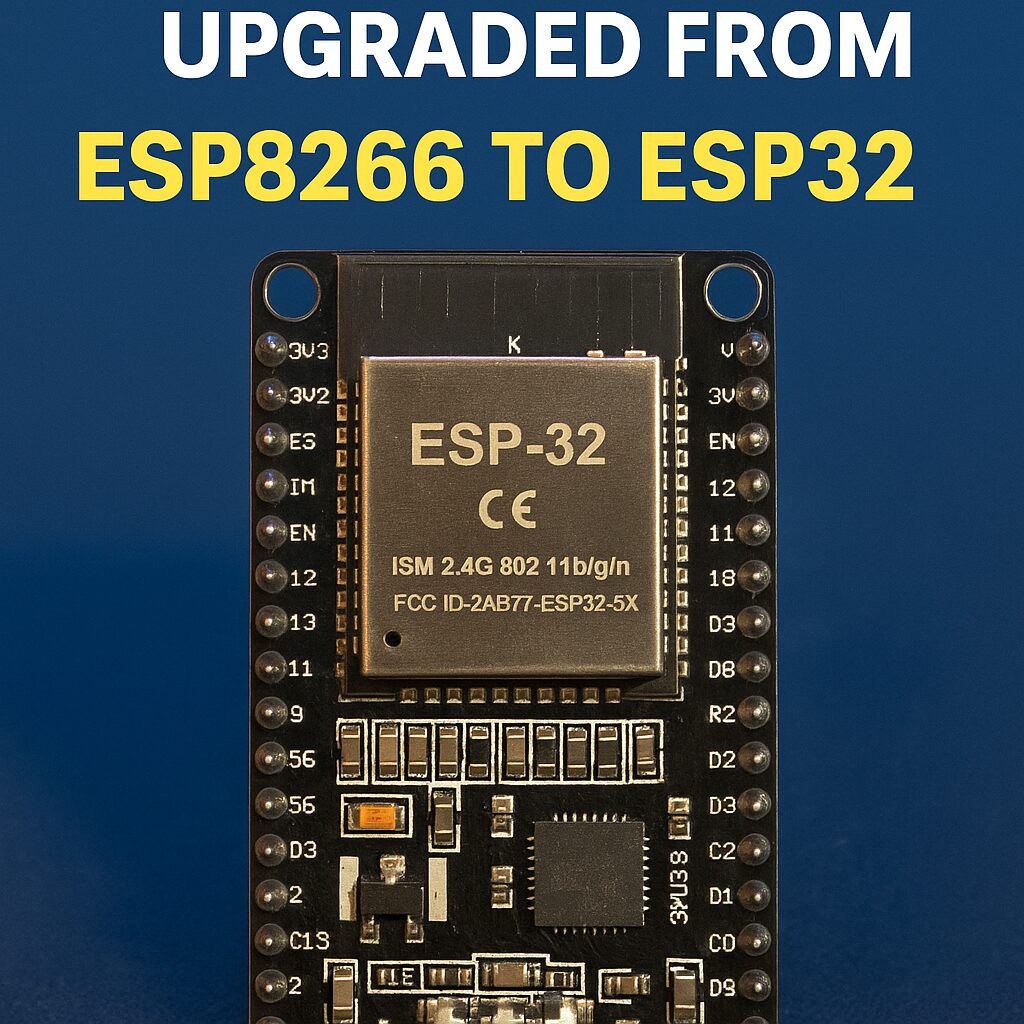
After building my first GSPro controller using ESP8266, I decided to upgrade to ESP32 — and it was absolutely worth it. This post walks through the upgrade, button mapping, BLE setup, and everything you need to know to make it work smoothly.
👉 If you missed the original ESP8266 version, check it out here:
🔗 GSPro DIY Controller with ESP8266 (Legacy Version)

✅ Why I Switched from ESP8266 to ESP32
While the ESP8266 worked well for a basic controller, it had limitations:
- ❌ No built-in Bluetooth HID support
- ❌ Fewer GPIOs (button inputs were tight)
- ❌ No native BLE keyboard libraries
By switching to ESP32, I gained:
- ✅ Bluetooth HID (BLE Keyboard) functionality — no USB dongle needed
- ✅ More GPIOs to handle buttons + joystick cleanly
- ✅ Strong community support and robust libraries
🎮 Final Key Mapping
I mapped the joystick and buttons to cover all major in-game functions. Here’s my setup:
🎯 Joystick (for Aim)
| Direction | Key Sent | GPIO |
|---|---|---|
| Up | ↑ arrow | 14 |
| Down | ↓ arrow | 27 |
| Left | ← arrow | 13 |
| Right | → arrow | 12 |
🟡 Buttons
| Function | Key | GPIO |
|---|---|---|
| Reset Aim | a | 18 |
| Mulligan | Ctrl+m | 17 |
| Club Up | k | 26 |
| Club Down | i | 25 |
| Tee Left | c | 32 |
| Tee Right | v | 16 |
| Flyover | o | 33 |
| Putter Select | u | 15 |
| Target View | j | 21 |
🧰 BLE Keyboard Setup with Arduino
To enable Bluetooth HID (keyboard emulation), I followed these steps:
- Installed Arduino ESP32 board package
- Downgraded to version 2.0.11 for BLE compatibility
- Installed ESP32 BLE Keyboard library by T-vK
- Selected board:
Tools > Board > ESP32 Dev Module - Assigned all GPIOs using
INPUT_PULLUPto prevent ghost presses - Used
Serial.println()for live debugging while testing
✅ Now, once the ESP32 boots and pairs via Bluetooth, it shows up as “GSPro Controller” and sends key inputs directly to GSPro — no extra software needed.
🧪 Troubleshooting Notes
- If your controller spams keys on boot, check for floating GPIOs (especially GPIO2)
- If ESP32 doesn’t show up on COM port, replace the USB cable (many are charge-only!)
- Use the BOOT button if uploads hang on “Connecting…”
🧠 Final GSPro Controller Code for ESP32 (BLE Keyboard)
#include <BleKeyboard.h>

BleKeyboard bleKeyboard("GSPro Controller", "ESP32 Inc.", 100);

// Joystick (Aim) GPIOs
#define JOY_UP     14
#define JOY_DOWN   27
#define JOY_RIGHT  12
#define JOY_LEFT   13

// Button GPIOs
#define BTN_RESET_AIM  18  // a
#define BTN_MULLIGAN   17  // ctrl+m
#define BTN_CLUB_UP    26  // k
#define BTN_CLUB_DOWN  25  // i
#define BTN_TEE_LEFT   32  // c
#define BTN_TEE_RIGHT  16  // v
#define BTN_FLYOVER    33  // o
#define BTN_PUTTER     15  // u
#define BTN_TARGET     21  // j

bool lastState[14];

void setupButton(int pin, int index) {
  pinMode(pin, INPUT_PULLUP);
  lastState[index] = HIGH;
}

void handlePress(int pin, int index, uint8_t key, const char* label) {
  int state = digitalRead(pin);
  if (lastState[index] == HIGH && state == LOW) {
    Serial.print("Pressed: ");
    Serial.println(label);
    bleKeyboard.write(key);
  }
  lastState[index] = state;
}

void setup() {
  Serial.begin(115200);
  bleKeyboard.begin();

  setupButton(JOY_UP, 0);
  setupButton(JOY_DOWN, 1);
  setupButton(JOY_LEFT, 2);
  setupButton(JOY_RIGHT, 3);
  setupButton(BTN_RESET_AIM, 4);
  setupButton(BTN_MULLIGAN, 5);
  setupButton(BTN_CLUB_UP, 6);
  setupButton(BTN_CLUB_DOWN, 7);
  setupButton(BTN_TEE_LEFT, 8);
  setupButton(BTN_TEE_RIGHT, 9);
  setupButton(BTN_FLYOVER, 10);
  setupButton(BTN_PUTTER, 11);
  setupButton(BTN_TARGET, 12);
}

void loop() {
  if (!bleKeyboard.isConnected()) return;

  // Joystick
  handlePress(JOY_UP, 0, KEY_UP_ARROW, "Aim UP");
  handlePress(JOY_DOWN, 1, KEY_DOWN_ARROW, "Aim DOWN");
  handlePress(JOY_LEFT, 2, KEY_LEFT_ARROW, "Aim LEFT");
  handlePress(JOY_RIGHT, 3, KEY_RIGHT_ARROW, "Aim RIGHT");

  // Buttons
  handlePress(BTN_RESET_AIM, 4, 'a', "Reset Aim");
  handlePress(BTN_CLUB_UP, 6, 'k', "Club Up");
  handlePress(BTN_CLUB_DOWN, 7, 'i', "Club Down");
  handlePress(BTN_TEE_LEFT, 8, 'c', "Tee Left");
  handlePress(BTN_TEE_RIGHT, 9, 'v', "Tee Right");
  handlePress(BTN_FLYOVER, 10, 'o', "Flyover");
  handlePress(BTN_PUTTER, 11, 'u', "Putter");
  handlePress(BTN_TARGET, 12, 'j', "Target View");

  // Mulligan = Ctrl + M
  int currentM = digitalRead(BTN_MULLIGAN);
  if (lastState[5] == HIGH && currentM == LOW) {
    Serial.println("Pressed: Mulligan (Ctrl+M)");
    bleKeyboard.press(KEY_LEFT_CTRL);
    bleKeyboard.press('m');
    delay(100);
    bleKeyboard.releaseAll();
  }
  lastState[5] = currentM;

  delay(10);  // debounce
}
I recorded the process to make this ESP32 GSPro Controller as HID keyboard.