
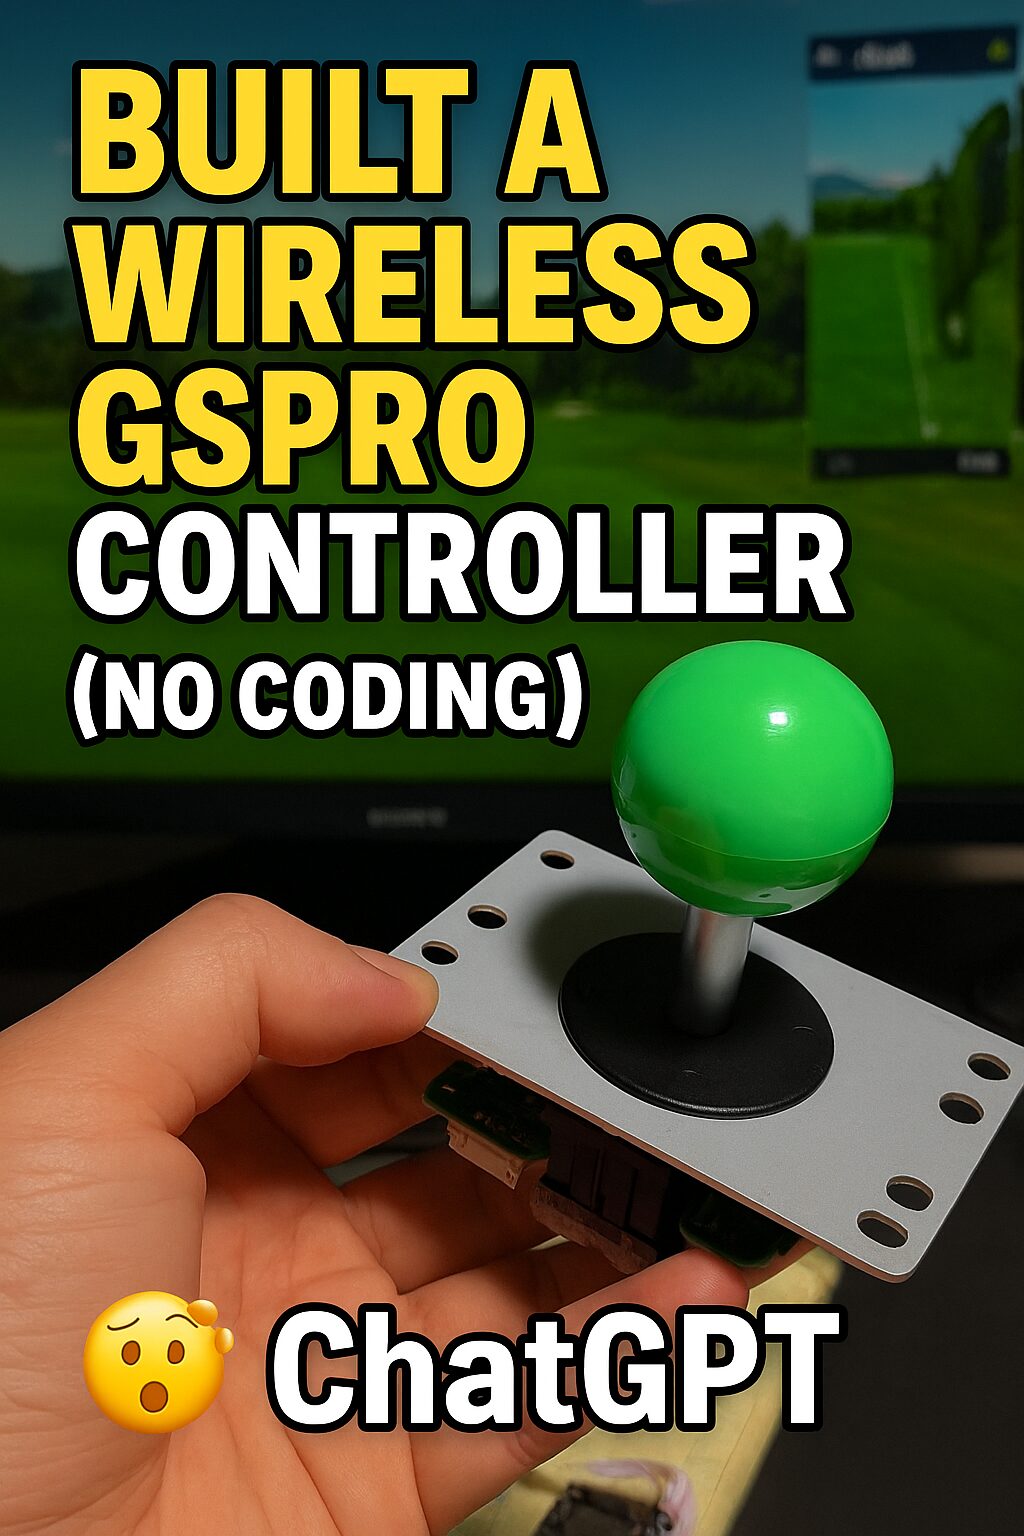
DIY Wireless Golf Controller Build
Are you building a custom gamepad controller for GSPro using an ESP8266? Want to connect physical buttons to send keyboard inputs over Wi-Fi — without serial clutter?
This guide walks you through everything: wiring, code, and server setup for a clean, fully working GSPro controller with expanded keys, URL-safe transmission, and no serial output.
🔧 Hardware Setup
We use an ESP8266 NodeMCU and wire up tactile pushbuttons like this:
| Button Function | GPIO Pin | ESP8266 Pin | Mapped Key |
|---|---|---|---|
| Club Down | GPIO5 | D1 | i |
| Reset | GPIO4 | D2 | r |
| Mulligan | GPIO0 | D3 | ctrl+m |
| Club Up | GPIO2 | D4 | k |
| Putter | GPIO16 | D0 | u |
| Reset Aim | GPIO14 | D5 | a |
| Tee Left | GPIO1 | D10 | c |
| Tee Right | GPIO3 | D9 | v |
| Aim Up | GPIO13 | D7 | up |
| Aim Down | GPIO15 | D8 | down |
| Aim Left | GPIO12 | D6 | left |
| Aim Right | GPIO9 | D11 | right |
🧠 ESP8266 Firmware Code
Here’s the full Arduino sketch you can upload via the Arduino IDE. It uses ESP8266WiFi and ESP8266HTTPClient to send HTTP GET requests when each button is pressed:
#include <ESP8266WiFi.h>
#include <ESP8266HTTPClient.h>

const char* ssid = "your_ssid";
const char* password = "your_password";
const String server = "http://192.168.1.122:5000/press/";

#define BTN_CLUB_DOWN   5
#define BTN_RESET       4
#define BTN_MULLIGAN    0
#define BTN_CLUB_UP     2
#define BTN_PUTTER      16
#define BTN_RESET_AIM   14
#define BTN_TEE_LEFT    1
#define BTN_TEE_RIGHT   3
#define UP_PIN          13
#define DOWN_PIN        15
#define LEFT_PIN        12
#define RIGHT_PIN       9

void setup() {
  WiFi.begin(ssid, password);
  while (WiFi.status() != WL_CONNECTED) delay(1000);
  sendKey("GSPro Wi-Fi controller is successfully connected!!");
}

String urlEncode(const String& str) {
  String encoded = "";
  char code0, code1, c;
  for (int i = 0; i < str.length(); i++) {
    c = str.charAt(i);
    if (isalnum(c)) encoded += c;
    else {
      code0 = (c >> 4) & 0xF;
      code1 = c & 0xF;
      encoded += '%';
      encoded += "0123456789ABCDEF"[code0];
      encoded += "0123456789ABCDEF"[code1];
    }
  }
  return encoded;
}

void sendKey(String key) {
  HTTPClient http;
  WiFiClient client;
  http.begin(client, server + urlEncode(key));
  http.GET();
  http.end();
}

void loop() {
  if (digitalRead(BTN_CLUB_DOWN) == LOW)  sendKey("i");
  if (digitalRead(BTN_RESET) == LOW)      sendKey("r");
  if (digitalRead(BTN_MULLIGAN) == LOW)   sendKey("ctrl+m");
  if (digitalRead(BTN_CLUB_UP) == LOW)    sendKey("k");
  if (digitalRead(BTN_PUTTER) == LOW)     sendKey("u");
  if (digitalRead(BTN_RESET_AIM) == LOW)  sendKey("a");
  if (digitalRead(BTN_TEE_LEFT) == LOW)   sendKey("c");
  if (digitalRead(BTN_TEE_RIGHT) == LOW)  sendKey("v");
  if (digitalRead(UP_PIN) == LOW)         sendKey("up");
  if (digitalRead(DOWN_PIN) == LOW)       sendKey("down");
  if (digitalRead(LEFT_PIN) == LOW)       sendKey("left");
  if (digitalRead(RIGHT_PIN) == LOW)      sendKey("right");
  delay(100);
}
🌐 Python Flask Server
On your GSPro host PC, run this simple Flask server to capture the GET requests:
from flask import Flask
import pyautogui

app = Flask(__name__)

@app.route("/press/<key>")
def press(key):
    if key == "ctrl+m":
        pyautogui.hotkey("ctrl", "m")
    else:
        pyautogui.press(key)
    return "OK"

if __name__ == "__main__":
    app.run(host="0.0.0.0", port=5000)
Install the required packages:
pip install flask pyautogui🔌 Wiring Diagram
Each pushbutton is connected between the GPIO and GND. Enable INPUT_PULLUP logic if needed.
✅ Final Notes
- Remove
Serial.begin()to safely use TX/RX as input pins - URL encoding ensures keys like
ctrl+mare parsed correctly - Debounce logic can be added for rapid button presses
🎯 Conclusion
Now you’re ready to use your own custom ESP8266-based gamepad to control GSPro over Wi-Fi! It’s efficient, responsive, and gives you total physical control of your simulation setup.